Getting Started Guide
This guide is meant for end-users who are willing to set up their own version of Rin. This allows you to self host your own version of Rin, and credits to Ellie (@TheSilkky) for making this all possible.
Requirements
In order to get started self-hosting your own version of Rin, you'll need some of the following installed:
If you are using Docker Desktop, Docker CLI and Docker Compose are already included and installed
Installation Instructions
Rin builds to 2 different Docker Registries: GHCR (GitHub Container Registry) and Docker Hub. You can pull production builds from both, but it is advised to use all production builds from Docker Hub
Do not use the dev-builds for production. Dev-builds are known to be unstable, and contain breaking changes. And therefore tagged versions or production builds should be used instead
Docker CLI
Pull the latest production build from either GHCR or Docker Hub
GHCR (Replace
versionwith the latest tagged release from GitHub):docker pull ghcr.io/no767/rin:versionDocker Hub:
docker pull no767/rin-prod:latestGo ahead and get the access tokens and/or API keys for some of the APIs. Here's a list of the services that require API Keys or Access Tokens
Go ahead and get the token for Rin. Save it instead, and this will be used to authorize the bot. Instructions can be found here.
Invite your bot into your server of choice
Now once you have all of the API keys and Access Tokens, now you can use the
-eflag to add it in.
sudo docker run -d \
-e TOKEN=botToken \
-e BLUE_ALLIANCE_API_KEY=apiKey \
-e DISCORD_BOTS_API_KEY=apiKey \
-e FIRST_EVENTS_FINAL_KEY=apiKey \
-e GITHUB_API_ACCESS_TOKEN=apiKey \
-e HYPIXEL_API_KEY=apiKey \
-e REDDIT_ID=apiKey \
-e REDDIT_SECRET=apiKey \
-e TENOR_API_KEY=apiKey \
-e TOP_GG_API_KEY=apiKey \
-e TWITCH_API_ACCESS_TOKEN=apiKey \
-e TWITCH_API_CLIENT_ID=apiKey \
-e TWITTER_BEARER_TOKEN=apiKey \
-e YOUTUBE_API_KEY=apiKey \
--restart=always \
--name Rin \
no767/rin-prod:latest
On dev builds, also add the TESTING_BOT_TOKEN env var and use the same exact token for that instead. It'll read it off of that instead
Replace apiKey with the correct API Keys, Access Tokens, Client IDs and Client Secrets. The TOKEN env is the token for the bot. Make sure that this is correct, or else the bot will not launch and function. Also make sure to invite your bot to your server first.
- Run the docker container, and check the logs to make sure that you are not missing anything
Docker Compose
- Clone the repo
git clone https://github.com/No767/Rin
Find the
docker-compose-example.ymlfile and rename it todocker-compose.ymlGo ahead and get the access tokens and/or API keys for some of the APIs. Here's a list of the services that require API Keys or Access Tokens
Go ahead and get the token for Rin. Save it instead, and this will be used to authorize the bot. Instructions can be found here.
Invite your bot into your server of choice
Now add the correct values into the docker compose file. A reference for the Docker Compose file is provided below:
# docker-compose-example.yml
version: "3.9"
services:
  rin:
    # Use cloudflare's DNS server. This is what Discord uses as well
    # May have issues...
    dns:
      - 1.1.1.1
      - 1.0.0.1
    container_name: Rin
    restart: always
    image: no767/rin-prod:latest
    deploy:
      restart_policy:
        condition: on-failure
        delay: 0s
        max_attempts: 3
        window: 120s
      mode: replicated
    environment:
      # Replace these values with the correct values
      - TOKEN=botToken
      - BLUE_ALLIANCE_API_KEY=apiKey
      - DISCORD_BOTS_API_KEY=apiKey
      - FIRST_EVENTS_FINAL_KEY=apiKey
      - GITHUB_API_ACCESS_TOKEN=apiKey
      - HYPIXEL_API_KEY=apiKey
      - REDDIT_ID=apiKey
      - REDDIT_SECRET=apiKey
      - TENOR_API_KEY=apiKey
      - TOP_GG_API_KEY=apiKey
      - TWITCH_API_ACCESS_TOKEN=apiKey
      - TWITCH_API_CLIENT_ID=apiKey
      - TWITTER_BEARER_TOKEN=apiKey
      - YOUTUBE_API_KEY=apiKey
Dev builds require another env var to be set. Set the env var TESTING_BOT_TOKEN to the same exact token as the TOKEN env var.
- Run
sudo docker compose up -dto fire up the docker compose project, and Rin should be running. Usesudo docker compose stopto stop Rin as needed.
Getting the Discord Bot
You'll more than likely need to get your discord bot up. So these are the setups to how to do that
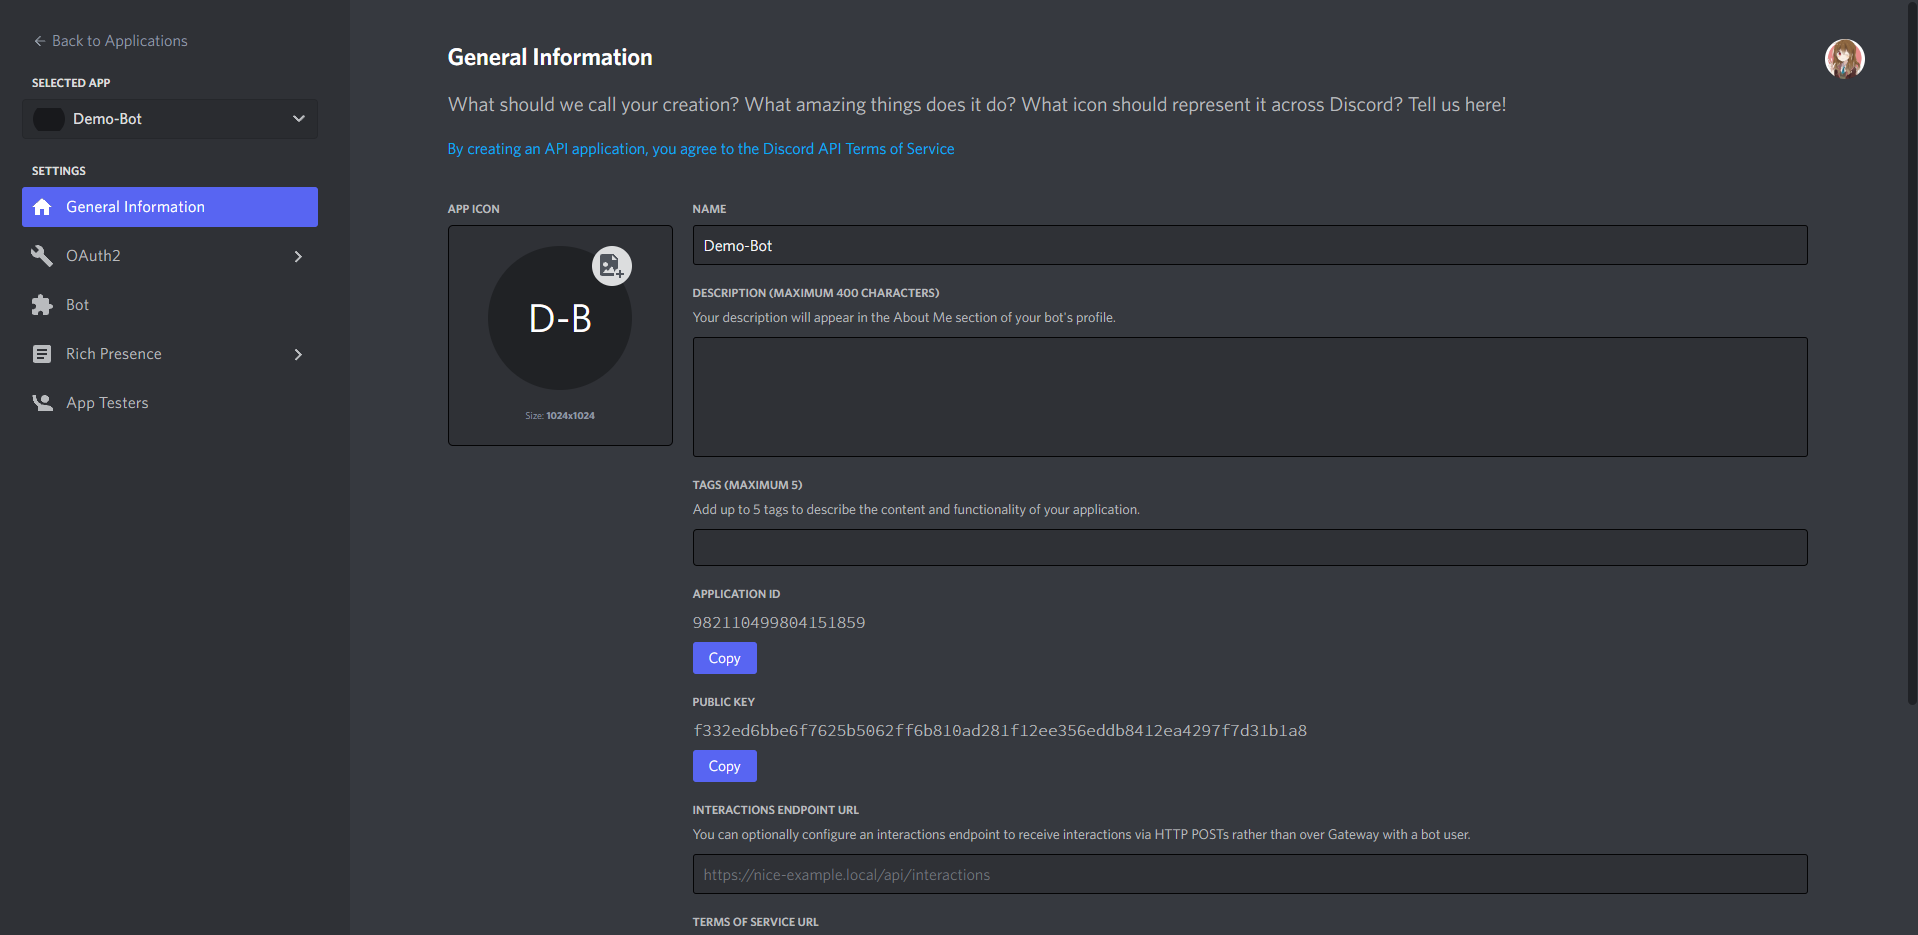
- Create the app that will be needed for the bot. Once done, you should see the page as shown above

- Now head done to the bot section, and click on the button that says "Add Bot".
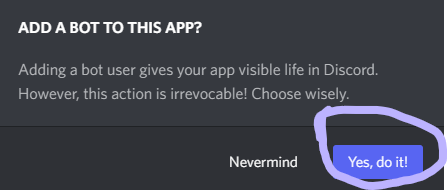
- You'll see a pop-up that asks you if you want to create the bot.
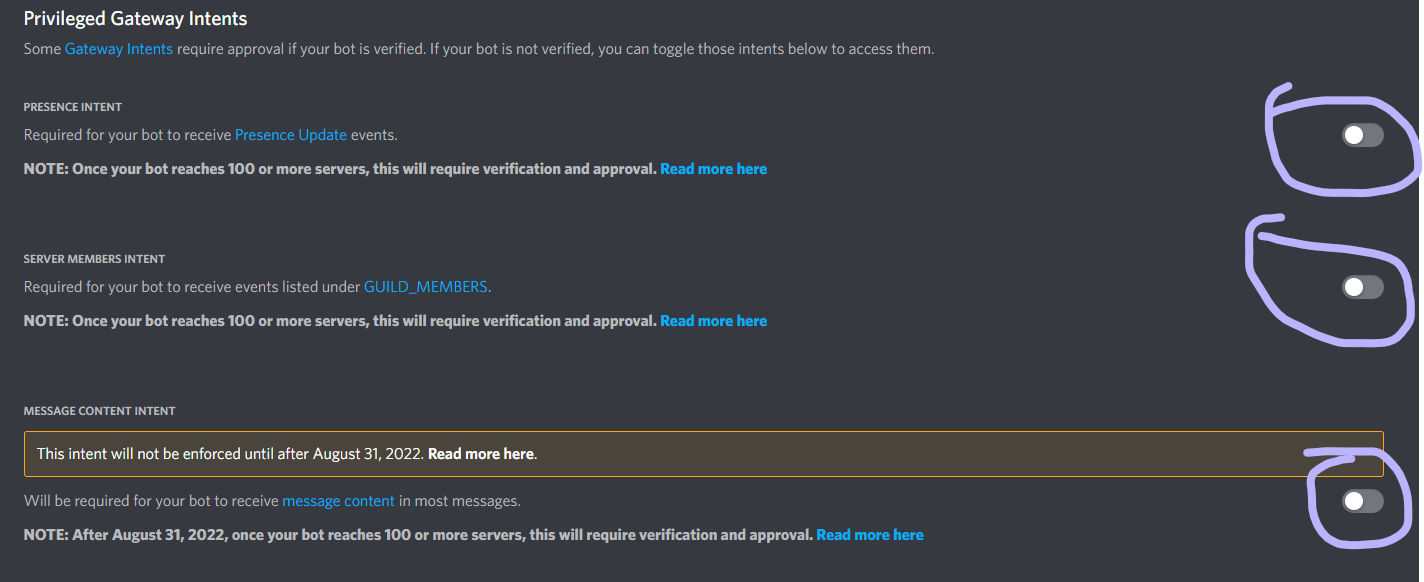
- Make sure to have all 3 of the buttons enabled. Rin will need all 3 of them to work.
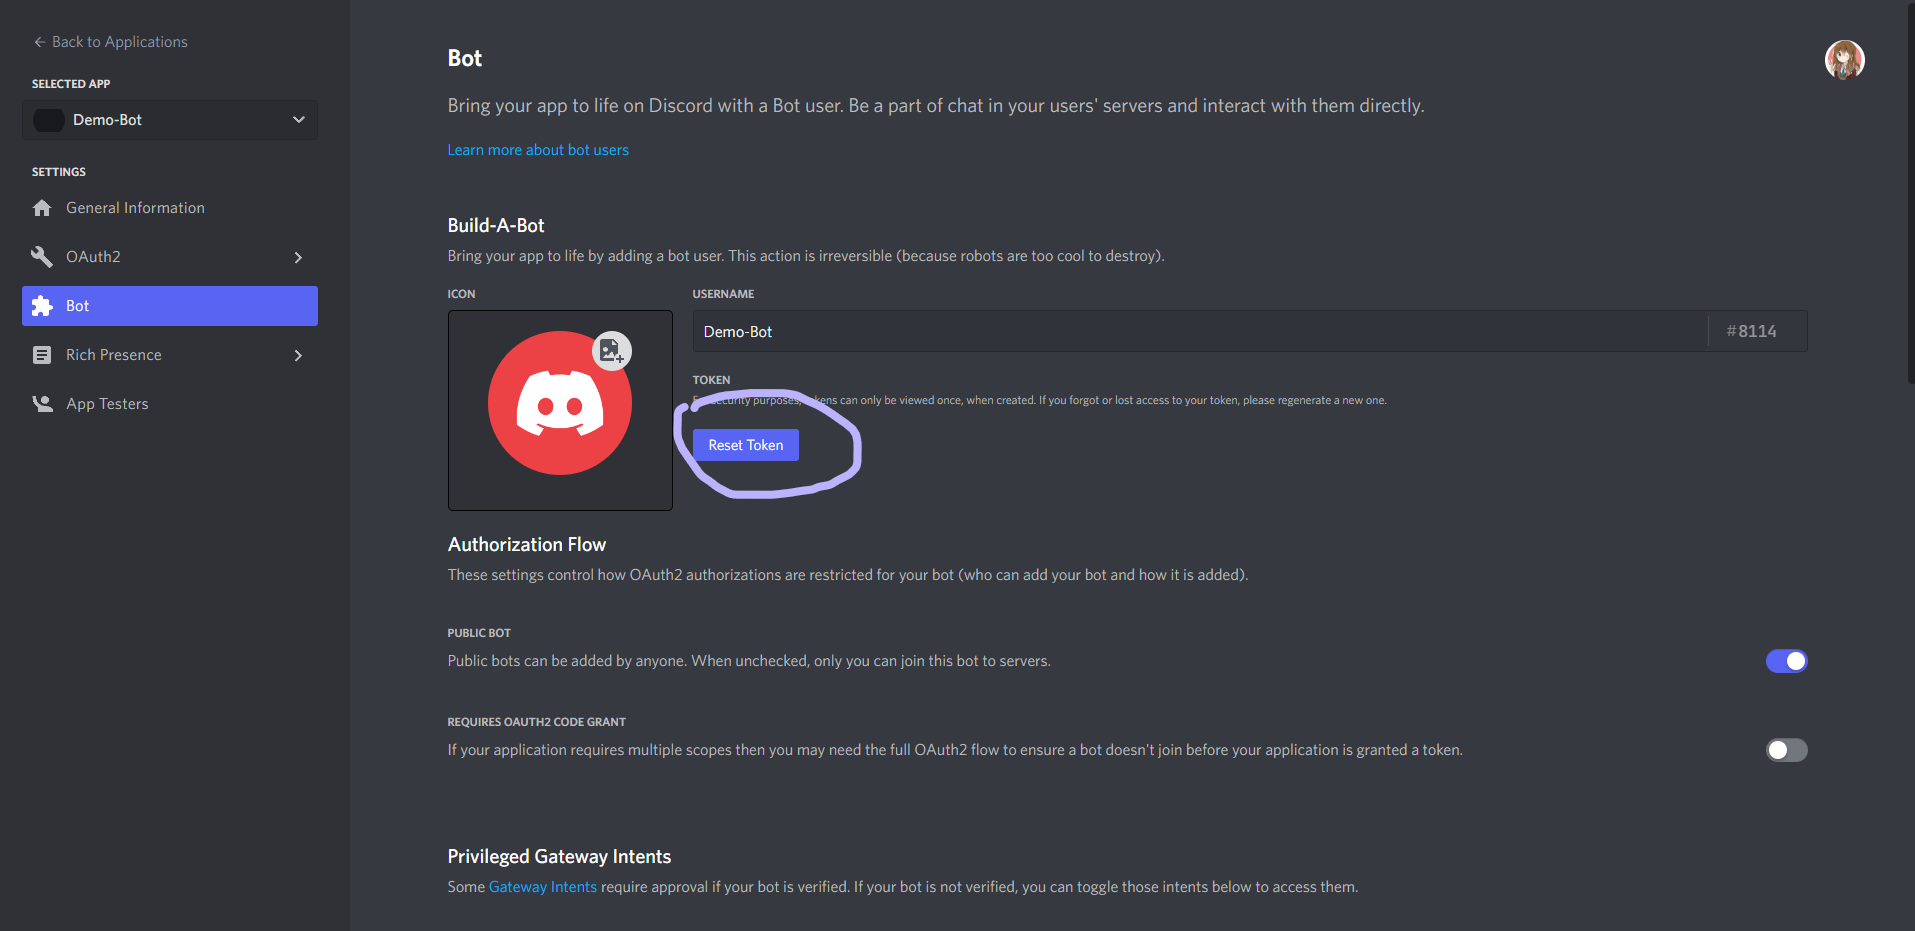
- You'll see a page just like the one above. We'll need access the the token for the bot, and the only way to do it is to reset the token.
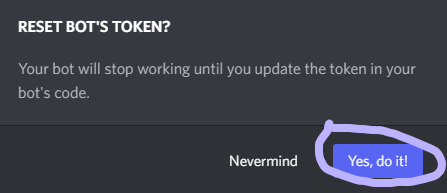
- Allow for the token to be reset. Note that if your account is hooked up with 2FA, it will ask you to enter your 2FA code. Go to your authenticator app and enter the code from the app.
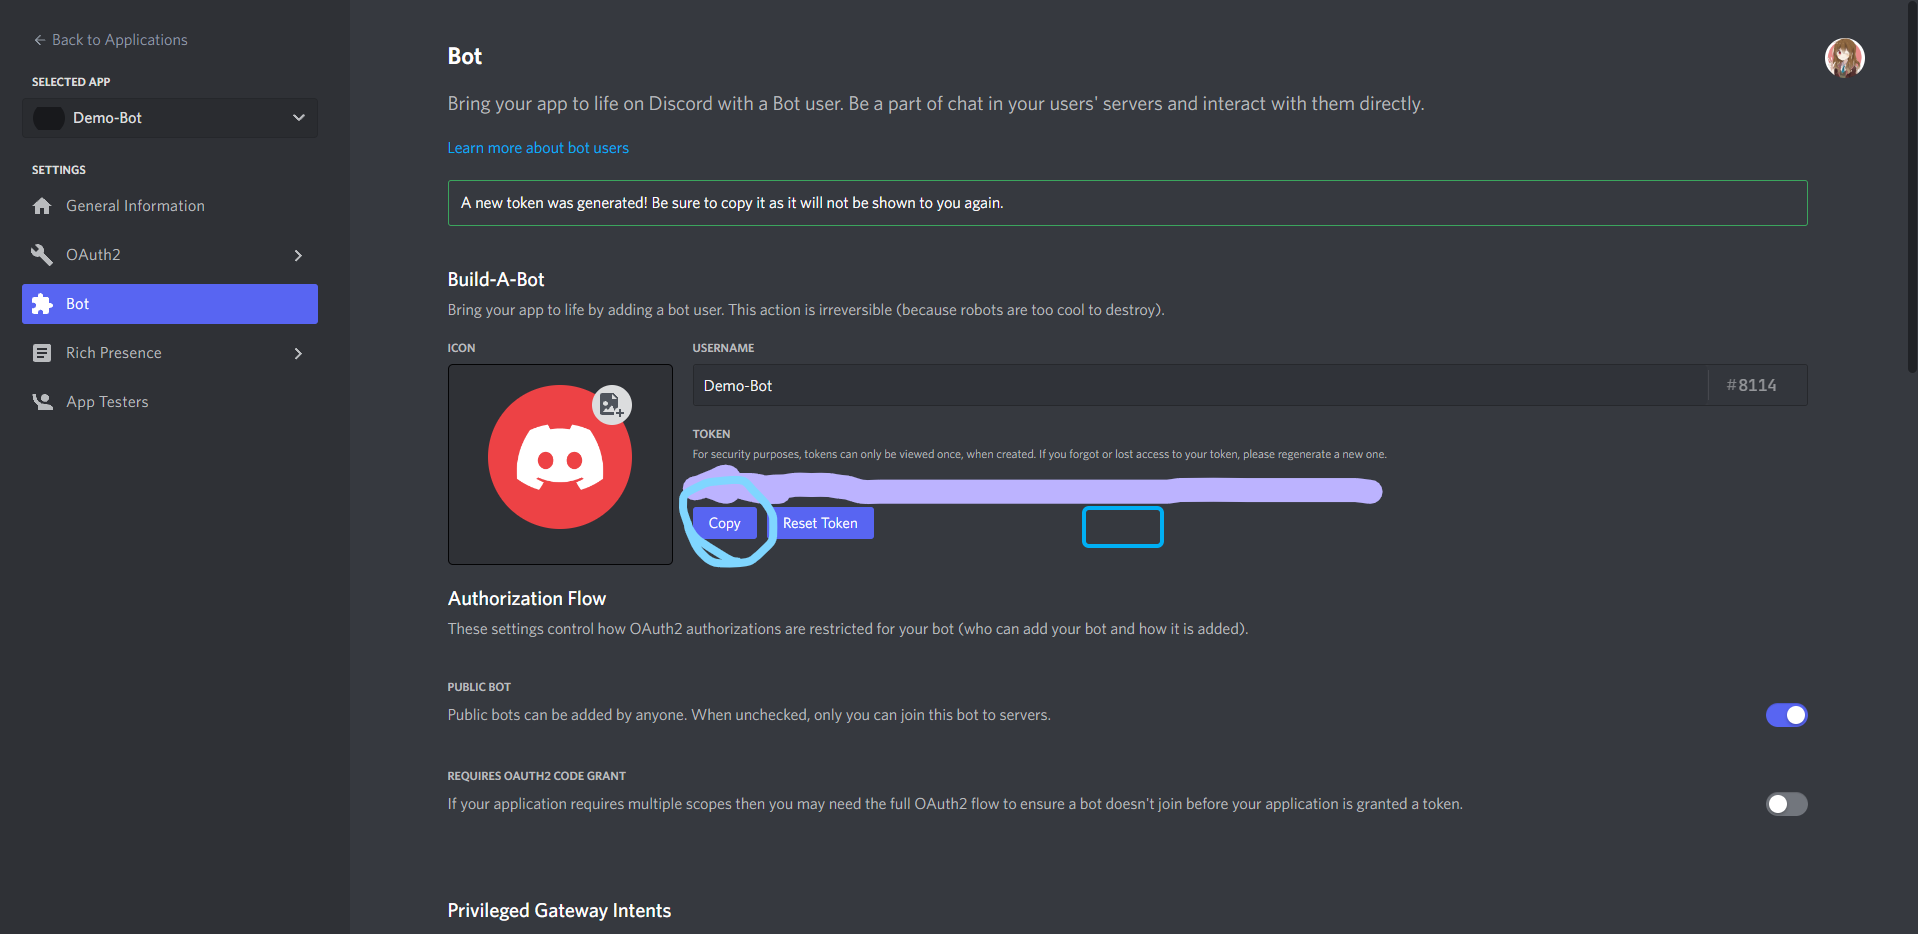 7. Now click on the copy button and copy the token
Now head back the to the docker run command, and switch out the env vars as needed (replace
...with your discord bot token):TOKEN=...
On dev builds, also add the TESTING_BOT_TOKEN env var and use the same exact token for that instead. It'll read it off of that instead
Extra Notes
Expected Uptimes
Discord bots are generally expected to be running 24/7, and are expected to have an uptime of 90-99% when in production. Make sure that the server you are running does not experience issues, or this can cause Rin to fail. It is recommended to not stop the bot unless for new updates, or critical downtime issues or server maintenance.
Cloud Deployment
Rin can also be deployed to the cloud. Rin will work fine in Azure, GCP, or AWS. In fact, it is recommended to deploy Rin to the cloud. Hosts such as PebbleHost will not work here. All you need to do is to pull the image from either GHCR or Docker Hub, and then add the env during setup. Once done, Rin can be ran in the cloud. And also fun fact: Rin v1 was originally deployed to Azure before I started to self-host Rin.